2.8 KiB
Perception Introduction
The Stretch robot is equipped with the Intel RealSense D435i camera, an essential component that allows the robot to measure and analyze the world around it. In this tutorial, we are going to showcase how to visualize the various topics published by the camera.
Begin by running the stretch driver.launch.py file.
ros2 launch stretch_core stretch_driver.launch.py
To activate the RealSense camera and publish topics to be visualized, run the following launch file in a new terminal.
ros2 launch stretch_core d435i_low_resolution.launch.py
Within this tutorial package, there is an RViz config file with the topics for perception already in the Display tree. You can visualize these topics and the robot model by running the command below in a new terminal.
ros2 run rviz2 rviz2 -d /home/hello-robot/ament_ws/src/stretch_tutorials/rviz/perception_example.rviz
PointCloud2 Display
A list of displays on the left side of the interface can visualize the camera data. Each display has its properties and status that notify a user if topic messages are received.
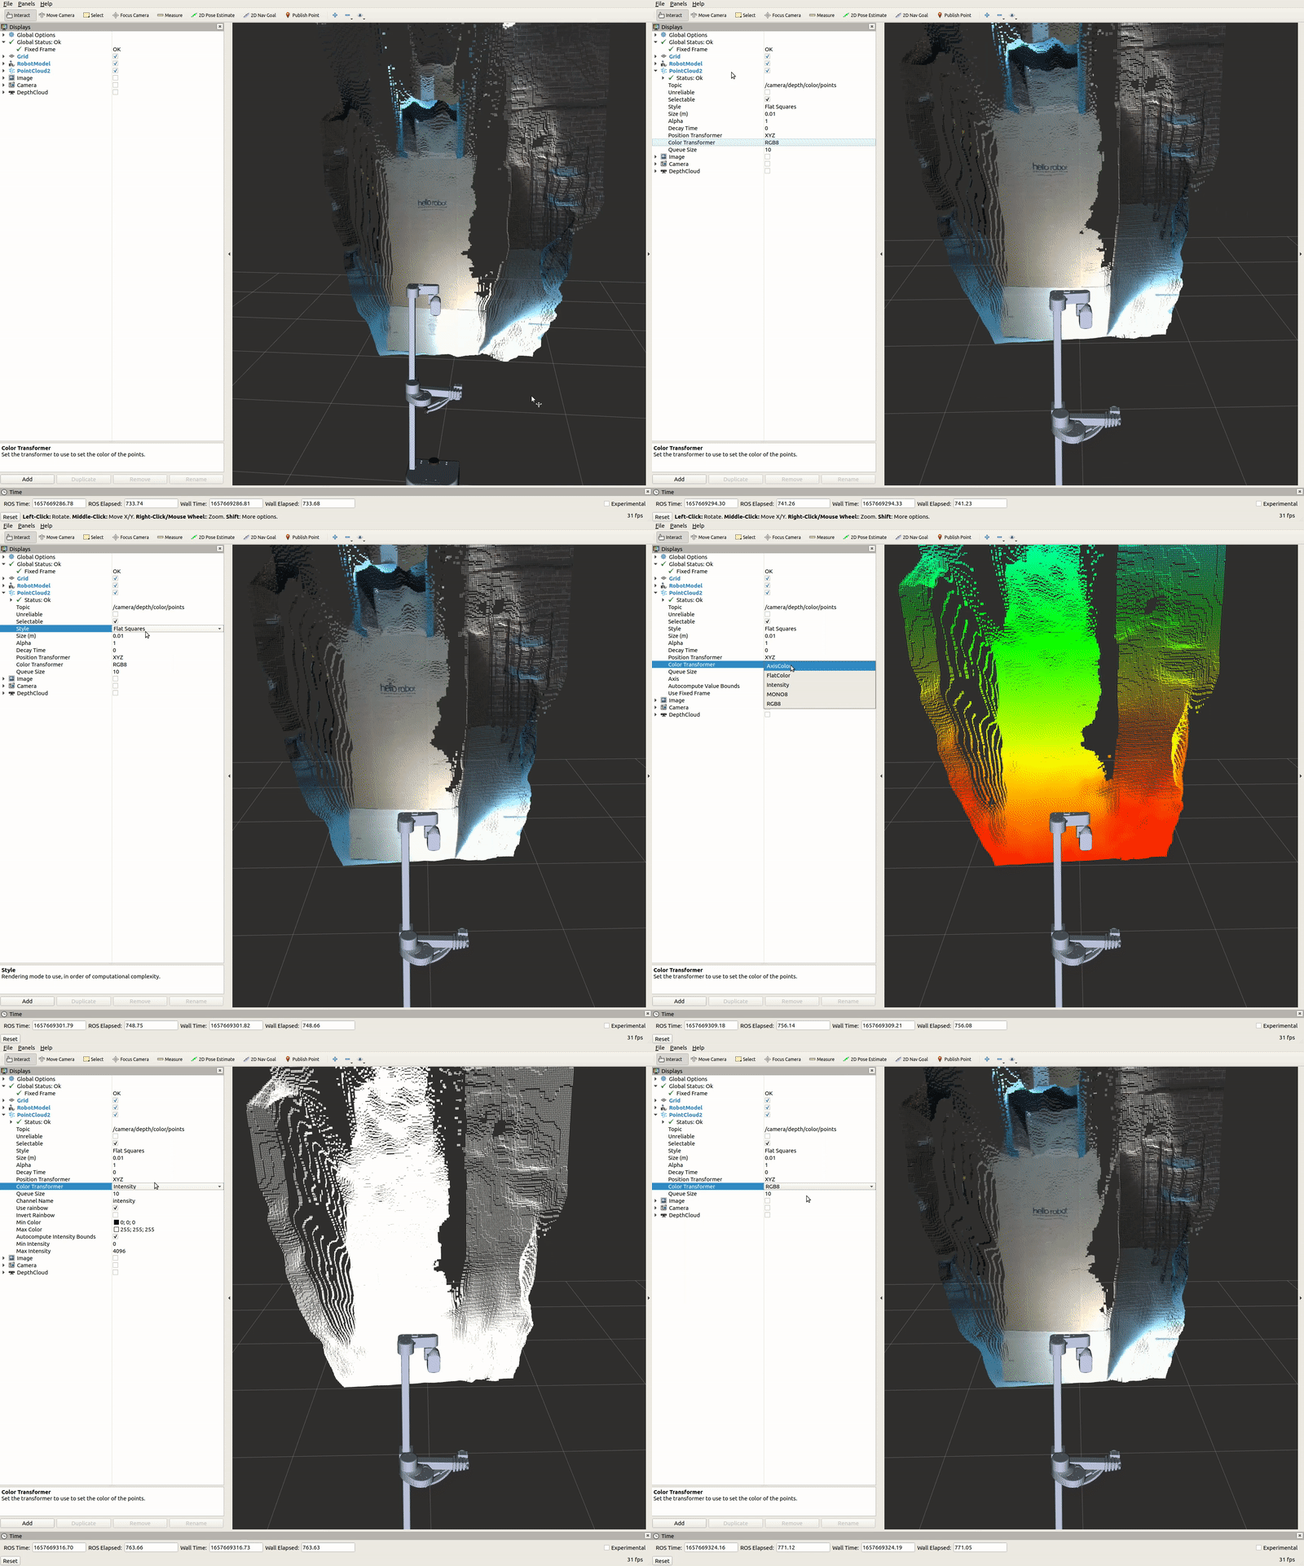
For the PointCloud2 display, a sensor_msgs/pointCloud2 message named /camera/depth/color/points is received and the GIF below demonstrates the various display properties when visualizing the data.

Image Display
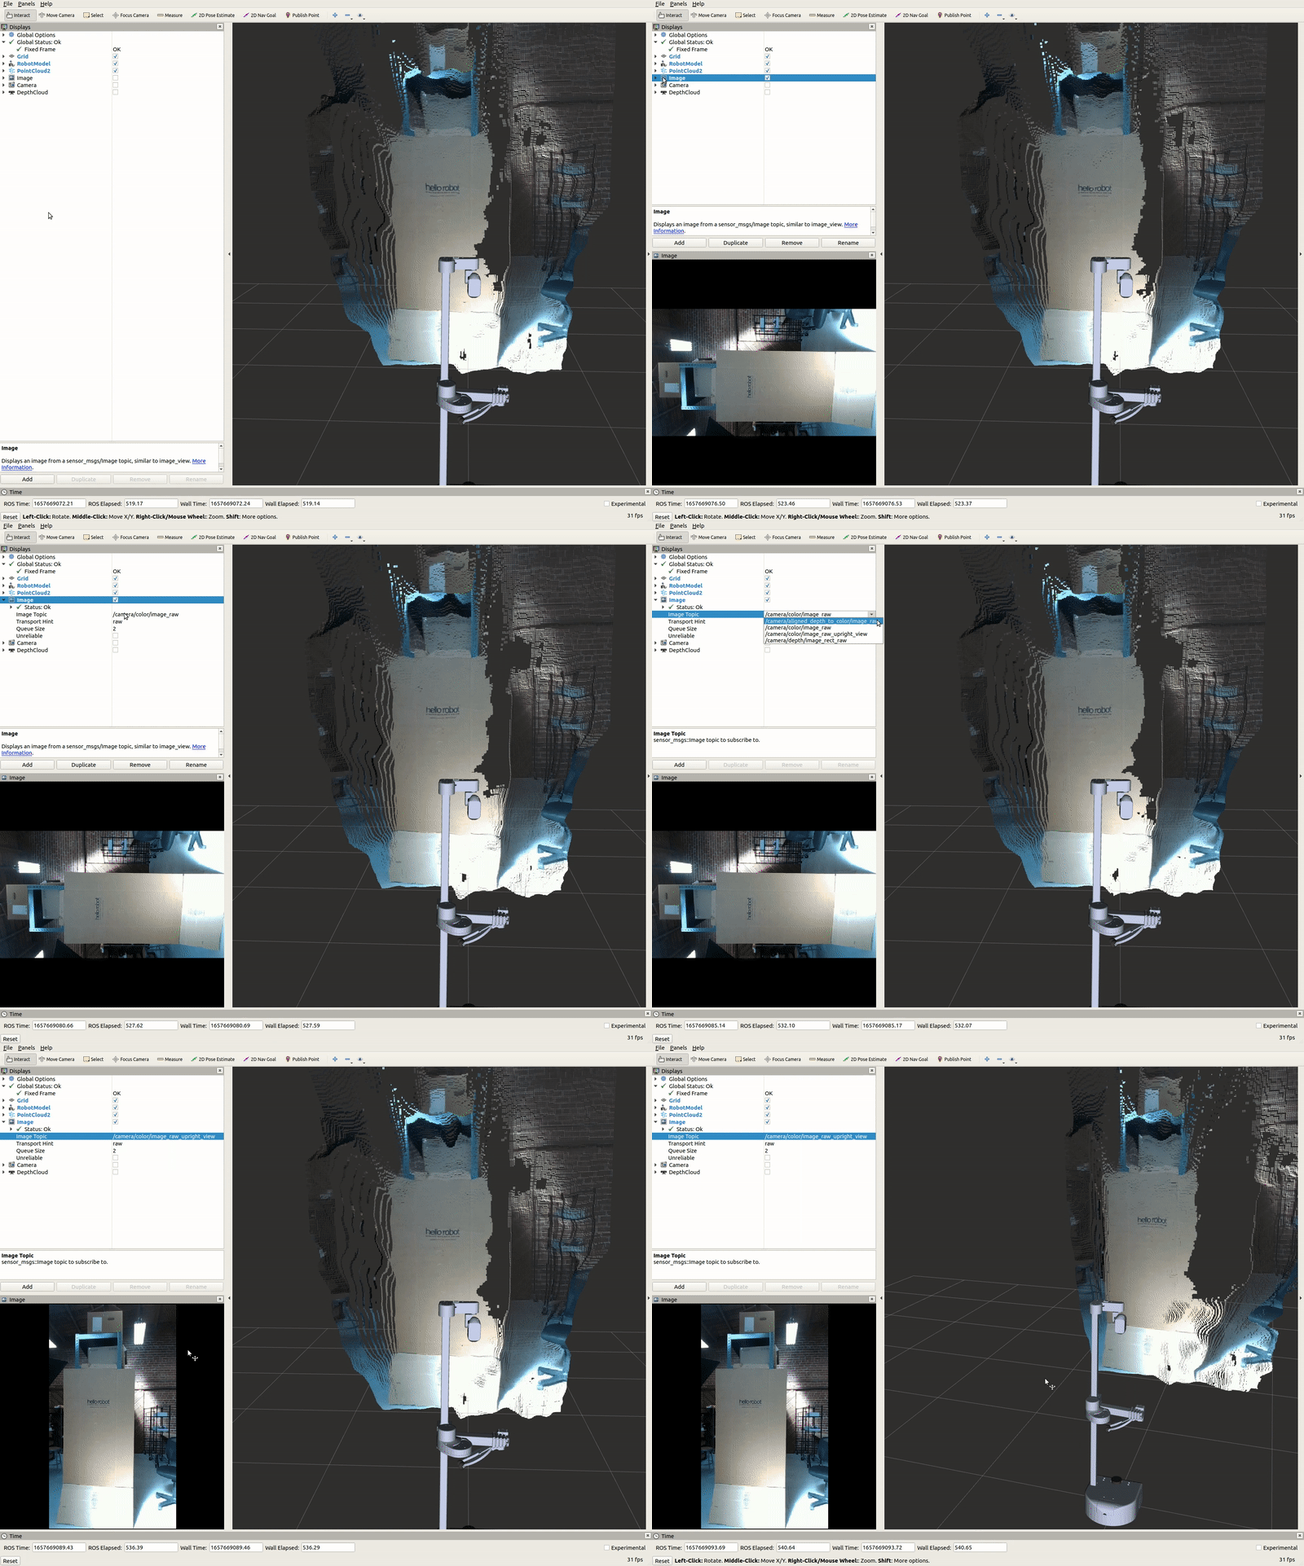
The Image display when toggled creates a new rendering window that visualizes a sensor_msgs/Image messaged, /camera/color/image_raw. This feature shows the image data from the camera; however, the image comes out sideways.

DepthCloud Display
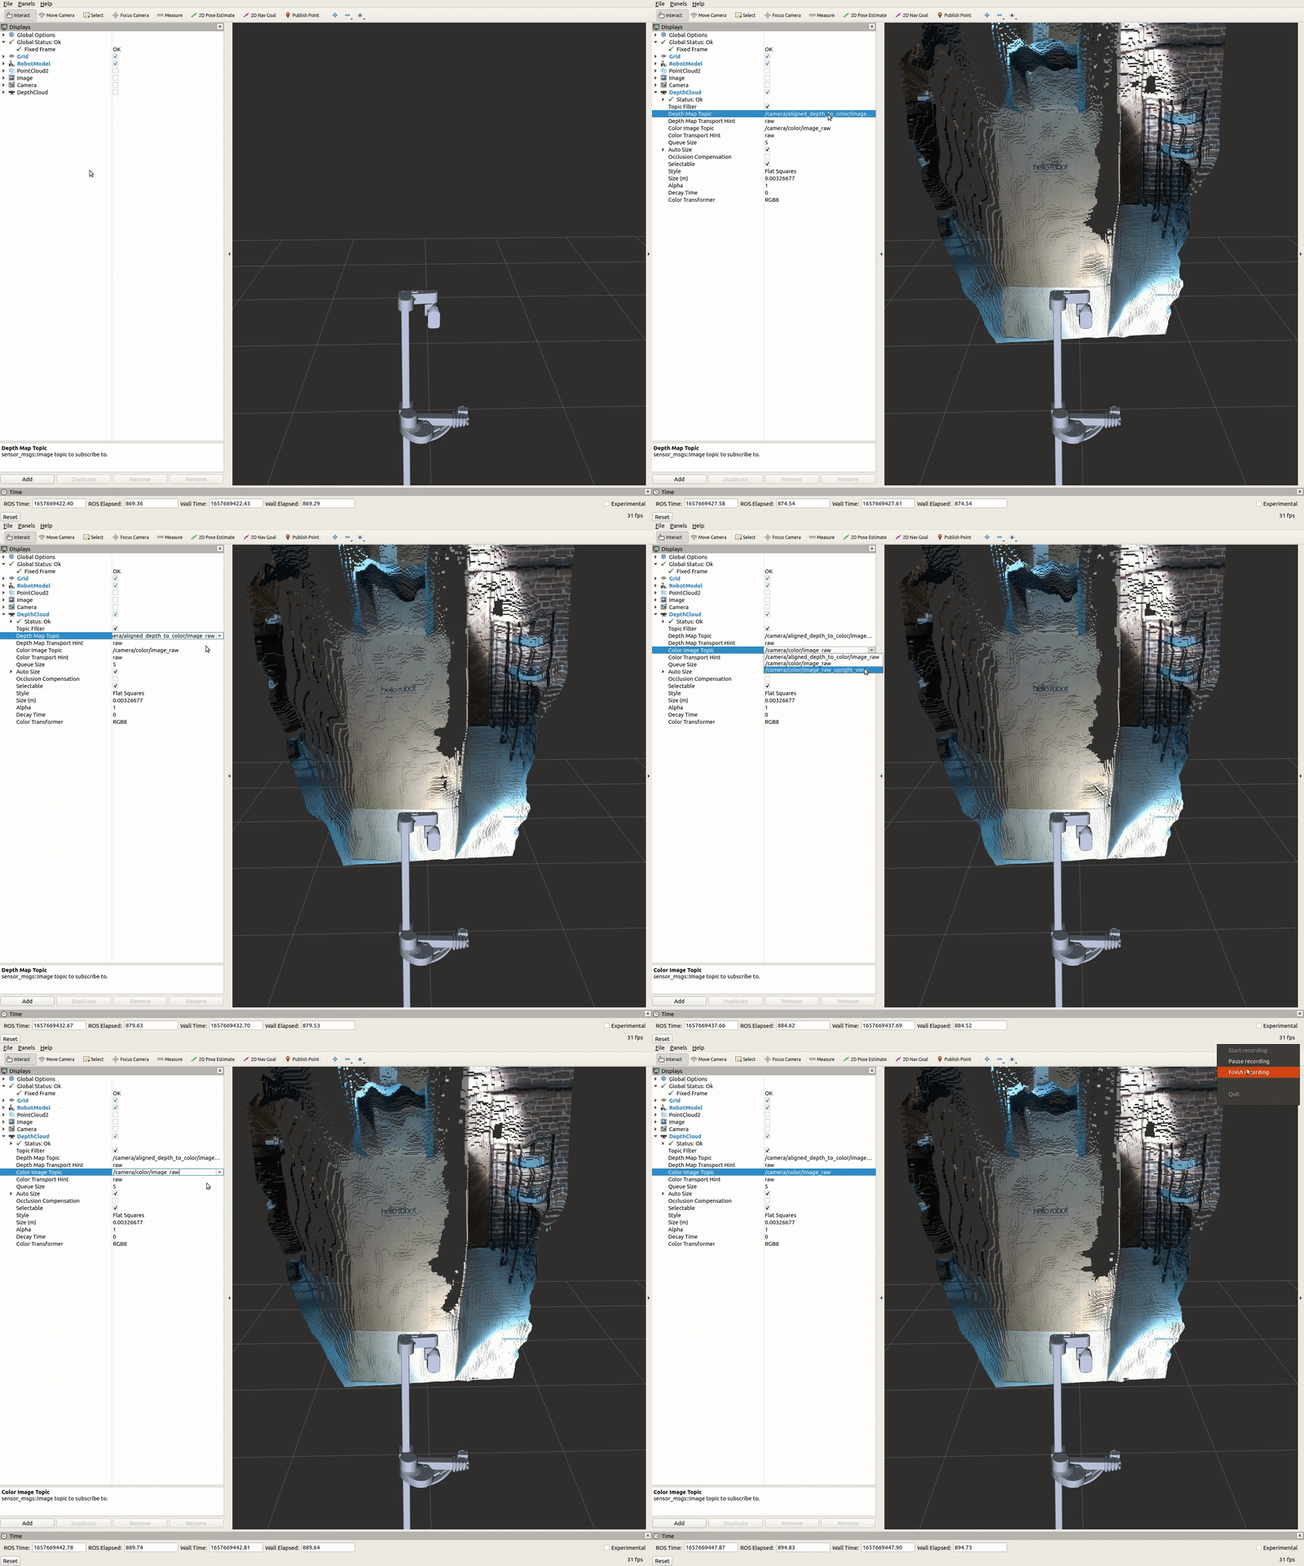
The DepthCloud display is visualized in the main RViz window. This display takes in the depth image and RGB image provided by RealSense to visualize and register a point cloud.

Deep Perception
Hello Robot also has a ROS package that uses deep learning models for various detection demos. A link to the tutorials is provided: stretch_deep_perception.
